First of all, thank you so much for showering so much love on Instagram.
So my sibling is just 7 right now and she was mad at me when she got to know that I specially baked a cake for a friend and not for her(ever)!
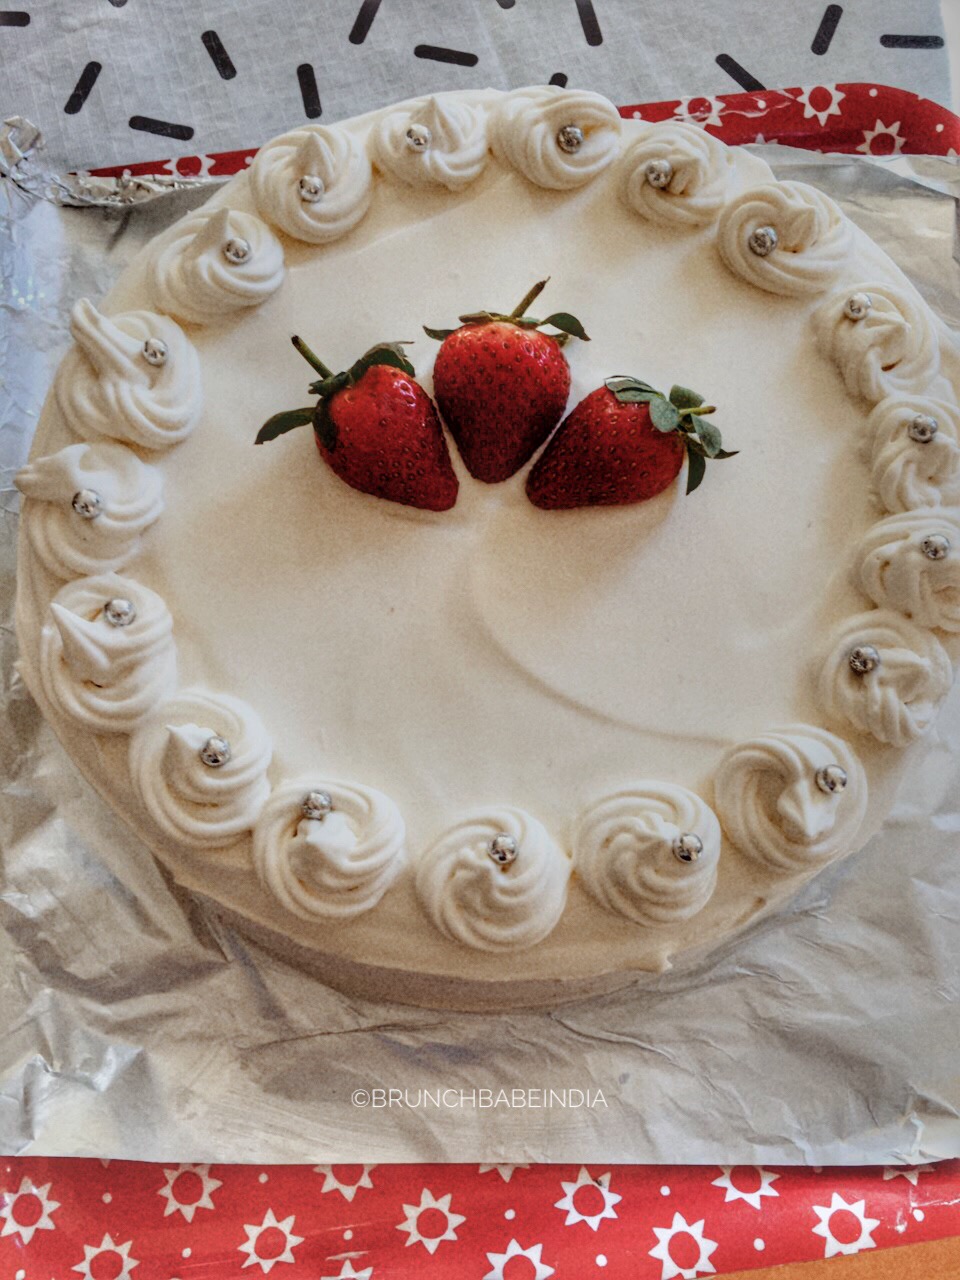
Hence, after a long day I had to settle with this subtle yet beautiful cake, that came out to be amazing!
On your demand, I’m sharing the recipe of the cake that almost 50 of you wanted me to share. Here it goes:
INGREDIENTS:
- 250g All purpose flour(maida)
- 175g powdered sugar
- 100ml olive oil
- 1tbsp baking powder
- 2-2.5tbsps curd/yoghurt
- 1/2cup milk
- 1tbsp vinegar
- Pinch of baking soda
- Pinch of vanilla essence
- 1/2tbsp Glucose syrup/cake gel
- 1tbsp Apple cider vinegar
METHOD:
For base cake:
- Sieve the flour in a bowl along with baking powder and baking soda.
- Apply butter paper on the cake tin, grease it with oil so that the cake doesn’t stick to it.
- Dust the cake tin and butter paper with maida.
- Meanwhile, set your oven at 180 degrees for pre heating.
- Take an empty bowl, add the dry ingredients we sieved above in a small amount for now.
- Now add curd, glucose syrup(be careful while you add it, more amount of it can cause a burnt cake) and sugar.
- Start whipping it with a manual or an electric whipper.
- Meanwhile, add vinegar(not apple cider vinegar) to half a cup of milk and mix it well in another cup.
- While you’re whipping, add olive oil and vanilla essence.
- Add a little more maida mixture to the batter and keep on whipping. (We’re adding the sieved mixture slowly, in parts so that there are no lumps in our batter)
- Add a little of the milk and vinegar mixture if the batter is thick and keep mixing it.
- Add the remaining maida mixture and mix it well.
- Add milk and vinegar mixture if the batter is still thick.
- I added 1-2tbsp of hot water after this cause my batter was still thick.
- Now, in the end add the apple cider vinegar.
- Once you add this, you’ve to rush with the batter while whipping.
- Now the batter is fluffy enough and can be poured inside the cake tin.
- Bake it for 30-35 minutes and after it is done, let it cool on the cooling tray.
For whipped cream:
- Pour the frozen whipped cream in a bowl.
- Keep it in an ice water bath(the bowl should be freezed and then filled with ice cubes)
- Whip it once and add 1/2 cup of icing sugar(more if sweetness is desired) and whip it again.
- Now add a little vanilla essence since we’re making a vanilla cake. Whip it for about 5-6 minutes.
- The cream would get fluffy by now.
- Refrigerate it for a while.
For cake decoration:
- Wrap a cardboard with a foil paper and keep the cake over it.
- You may keep it on cake stand for comfort.
- Now, divide the cake into two parts such that you get three round shaped slices.
- Spread the whipped cream on the first slice with the help of a spatula(or a butter knife). You can also spread diluted strawberry jam before the cream if you wish to give it a real time strawberry flavour(I was too tired to do this)
- Keep the other slice over the above one and do the same with this one too.
- Now, keep the third slice over it and spread the whipped cream all over it in 3D.
- Use the icing nozzle to make your favourite designs.
- Garnish it with fresh strawberries and you’re done!
This is a simple recipe for a lazy ass like me! Hope you try it and like it!💛
To stay updated, follow me on Facebook and Instagram.
Much love
